Discontinuities
A discontinuity is defined as an interruption in the physical properties of an article. Discontinuities can be relatively harmless – or they can render article material defective and dangerous. Part 1 of this series investigates the origin of discontinuities and the overall classifications most discontinuities fall into. Inherent, Processing, and Service discontinuities are the three categories most of these material flaws are organized into. Part 2 of this series will investigate Service Discontinuities in greater detail – looking at methods in NDT that help companies and governments keep equipment, parts, and infrastructure 100% operational.
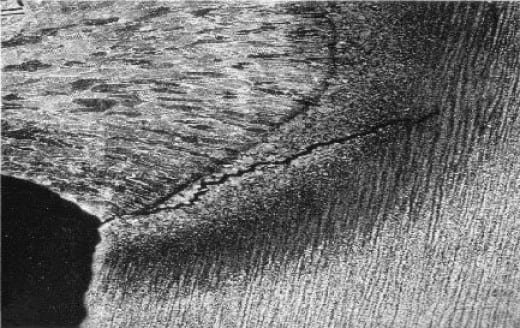
Discontinuity found in a steel article
Discontinuities are divided into three general categories
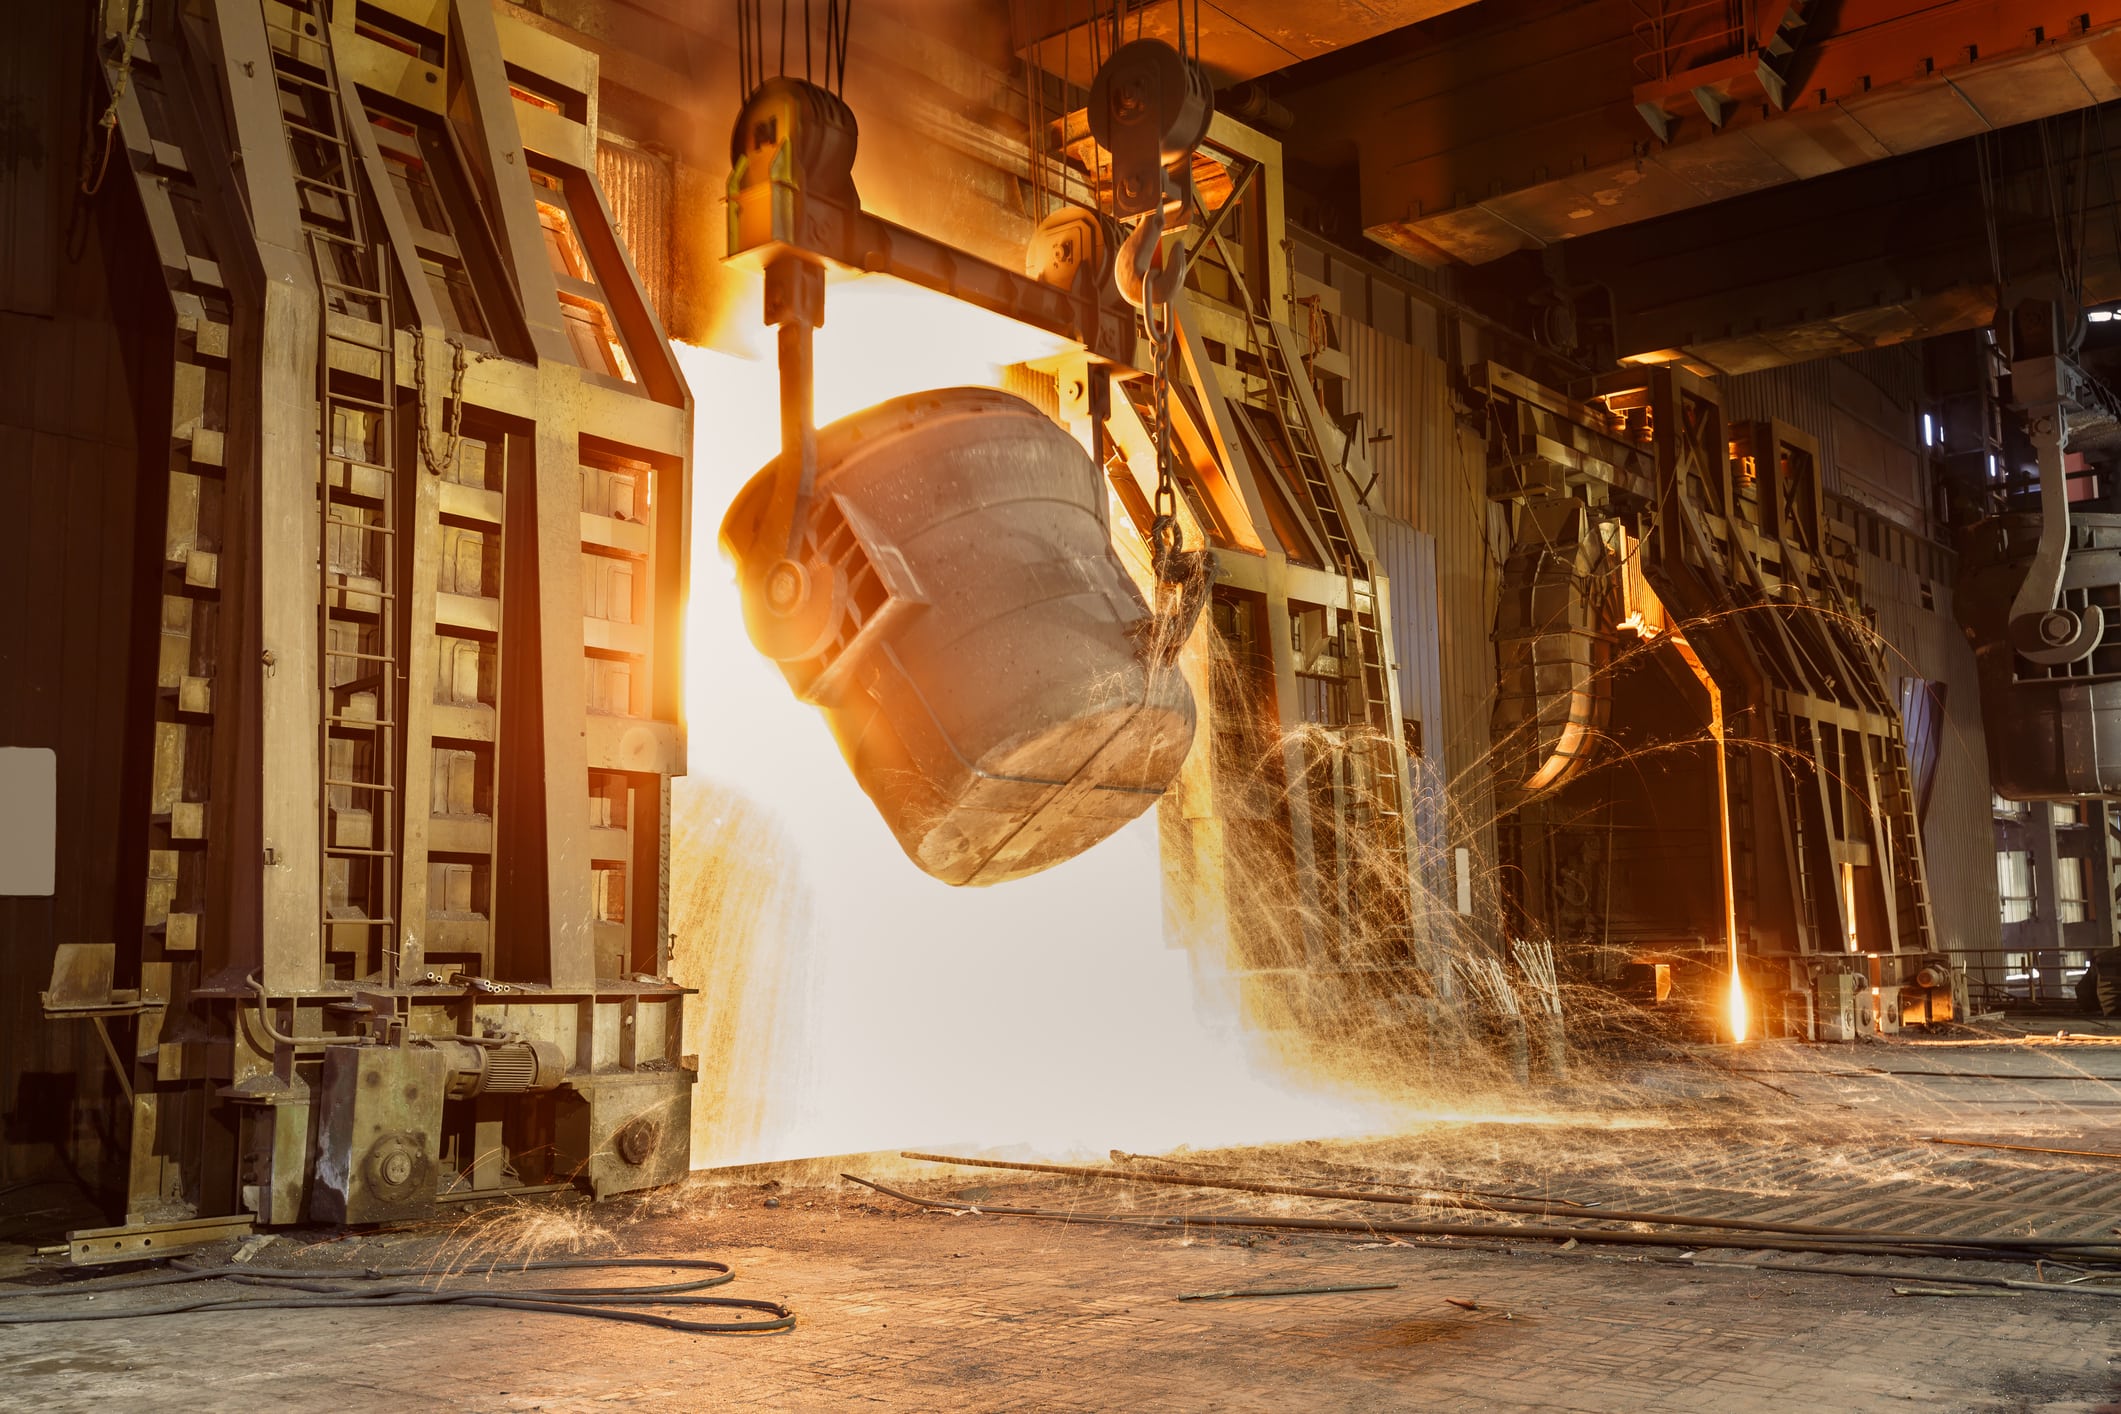
Inherent discontinuities are created when metal is molten and malleable during the casting process. Inherent wrought discontinuities are associated with the melting and the solidification of the ingot before it is formed into salable quantities such as slabs, blooms, and billets.
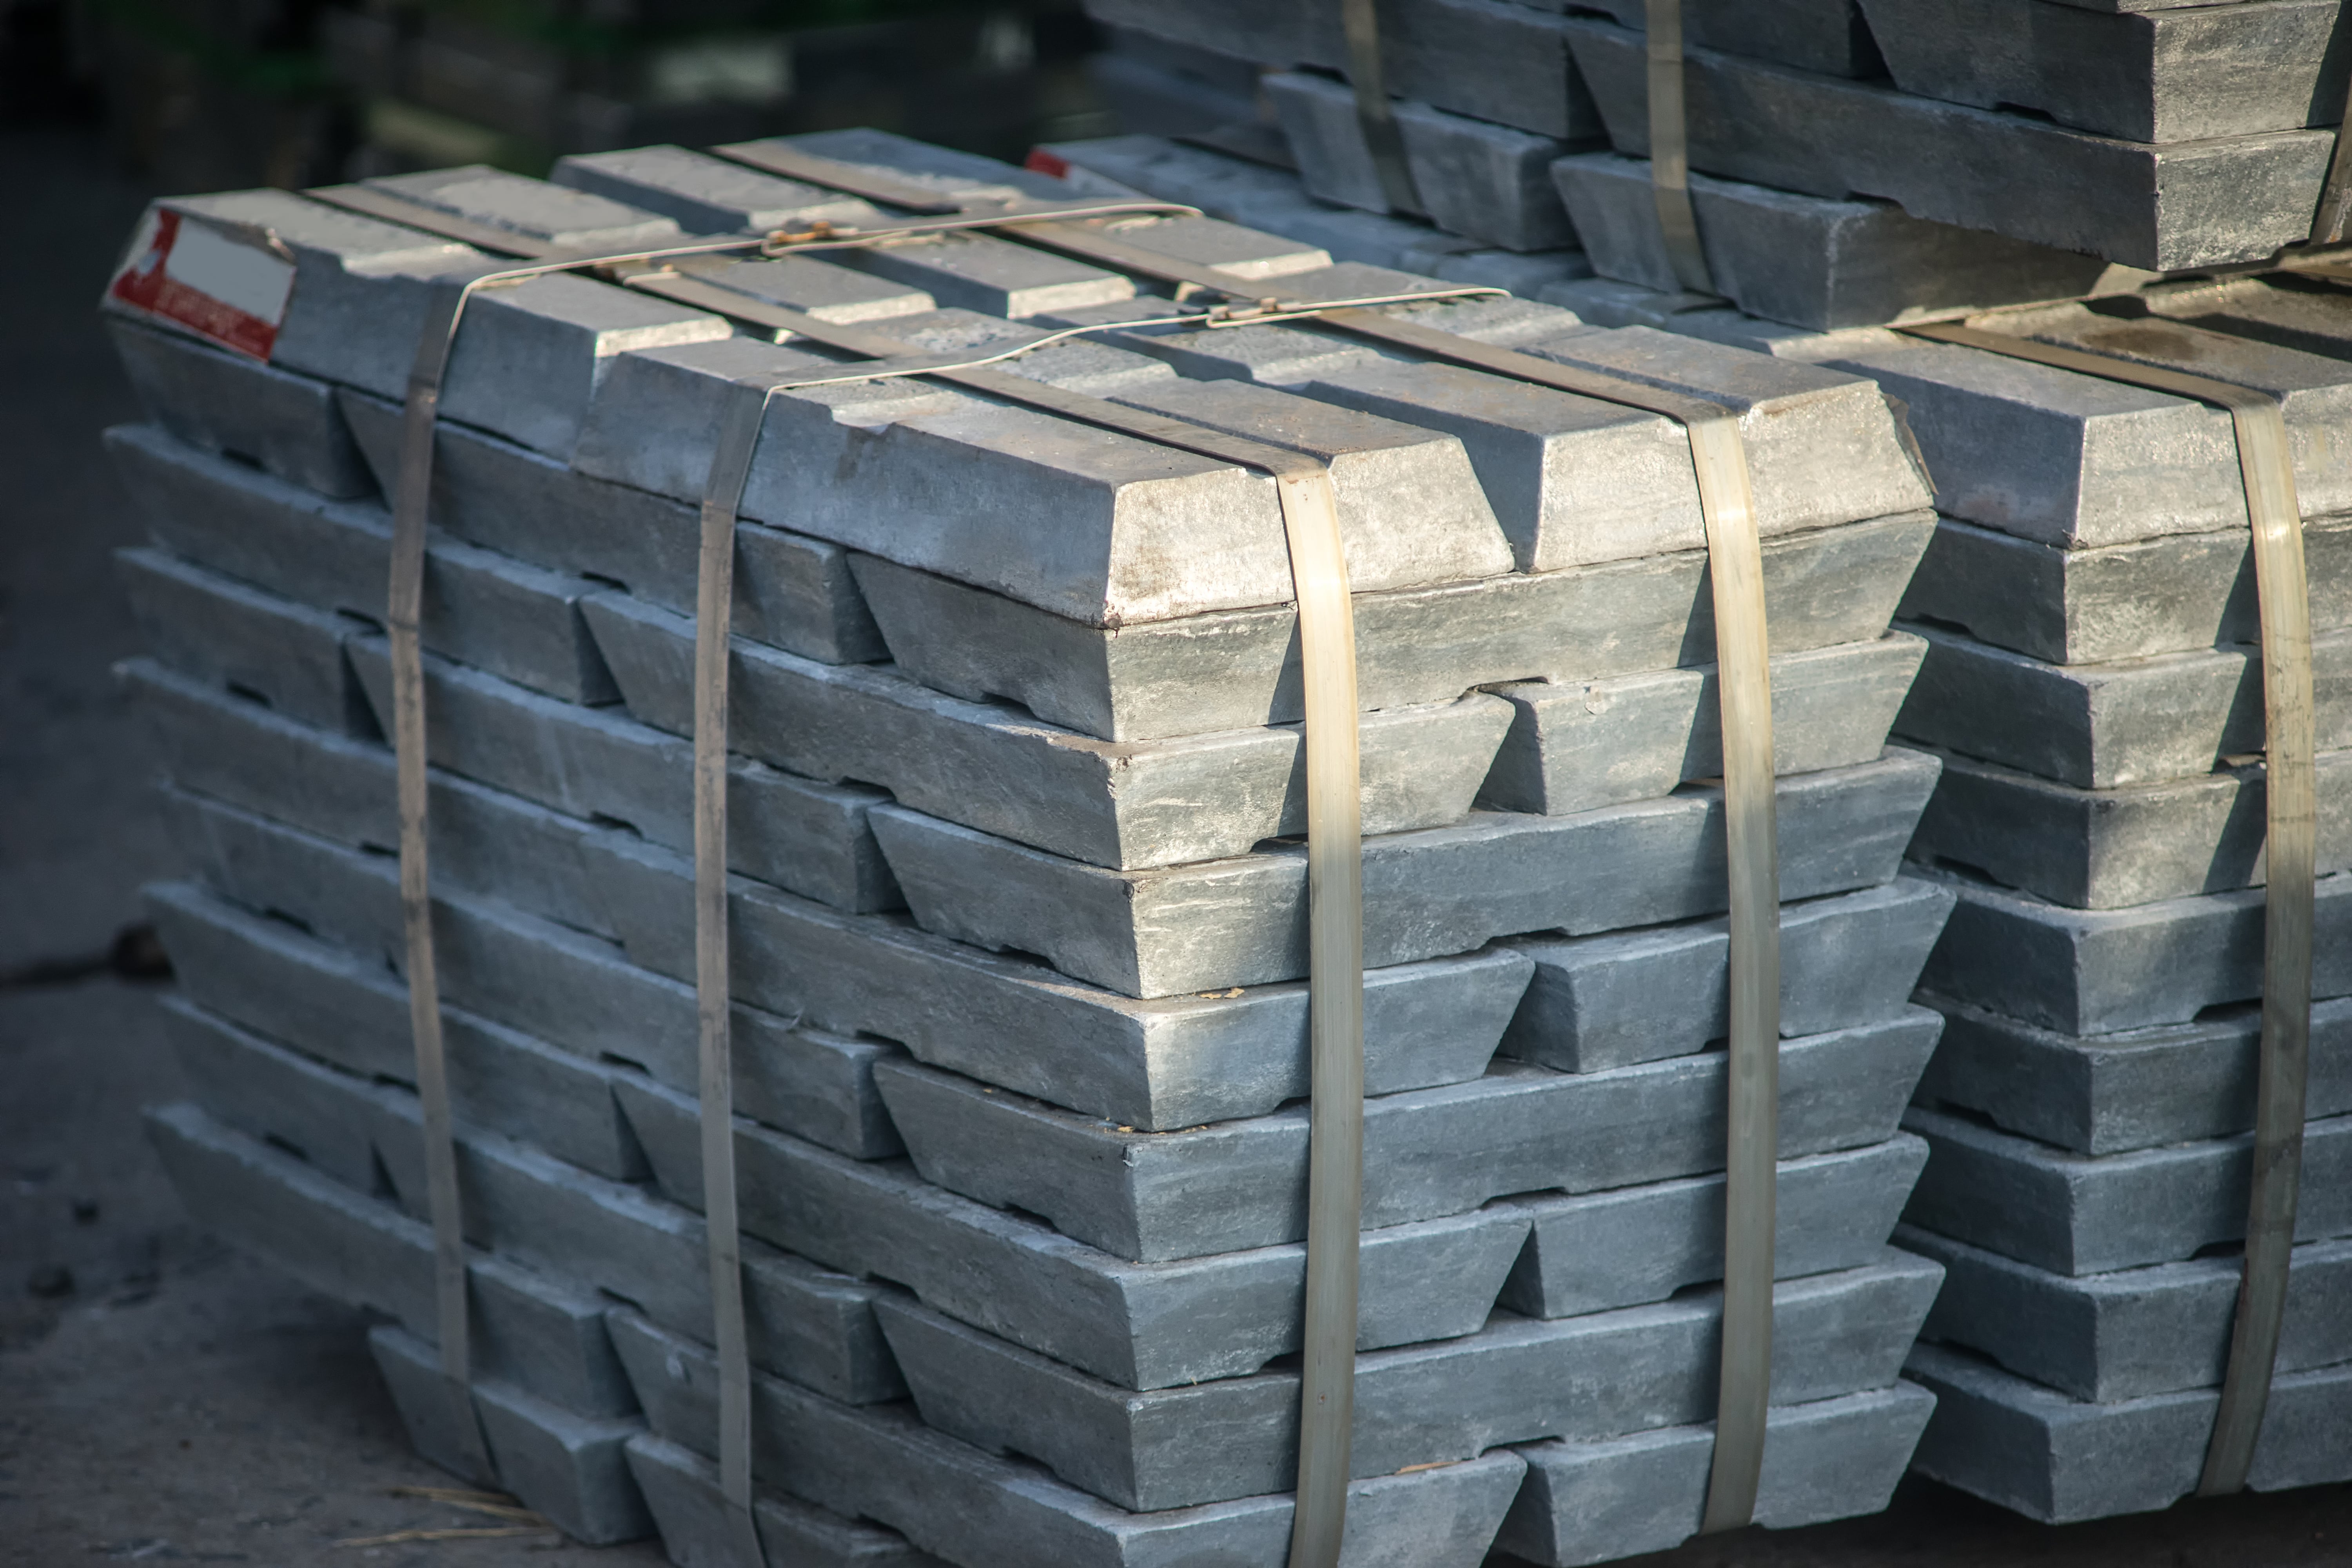
Articles ready for processing
Inherent cast discontinuities are associated with the melting, casting, and solidification of a cast article – or, put simply, the processing of metal, via molding, into a usable shape or form.
Processing discontinuities relate to manufacturing processes. Machining, extruding, rolling, welding, heat treating, and plating all are examples of processing discontinuities. Subsurface discontinuities not readily seen on the surface are detected during the finer processing of the material (for end-use and service).
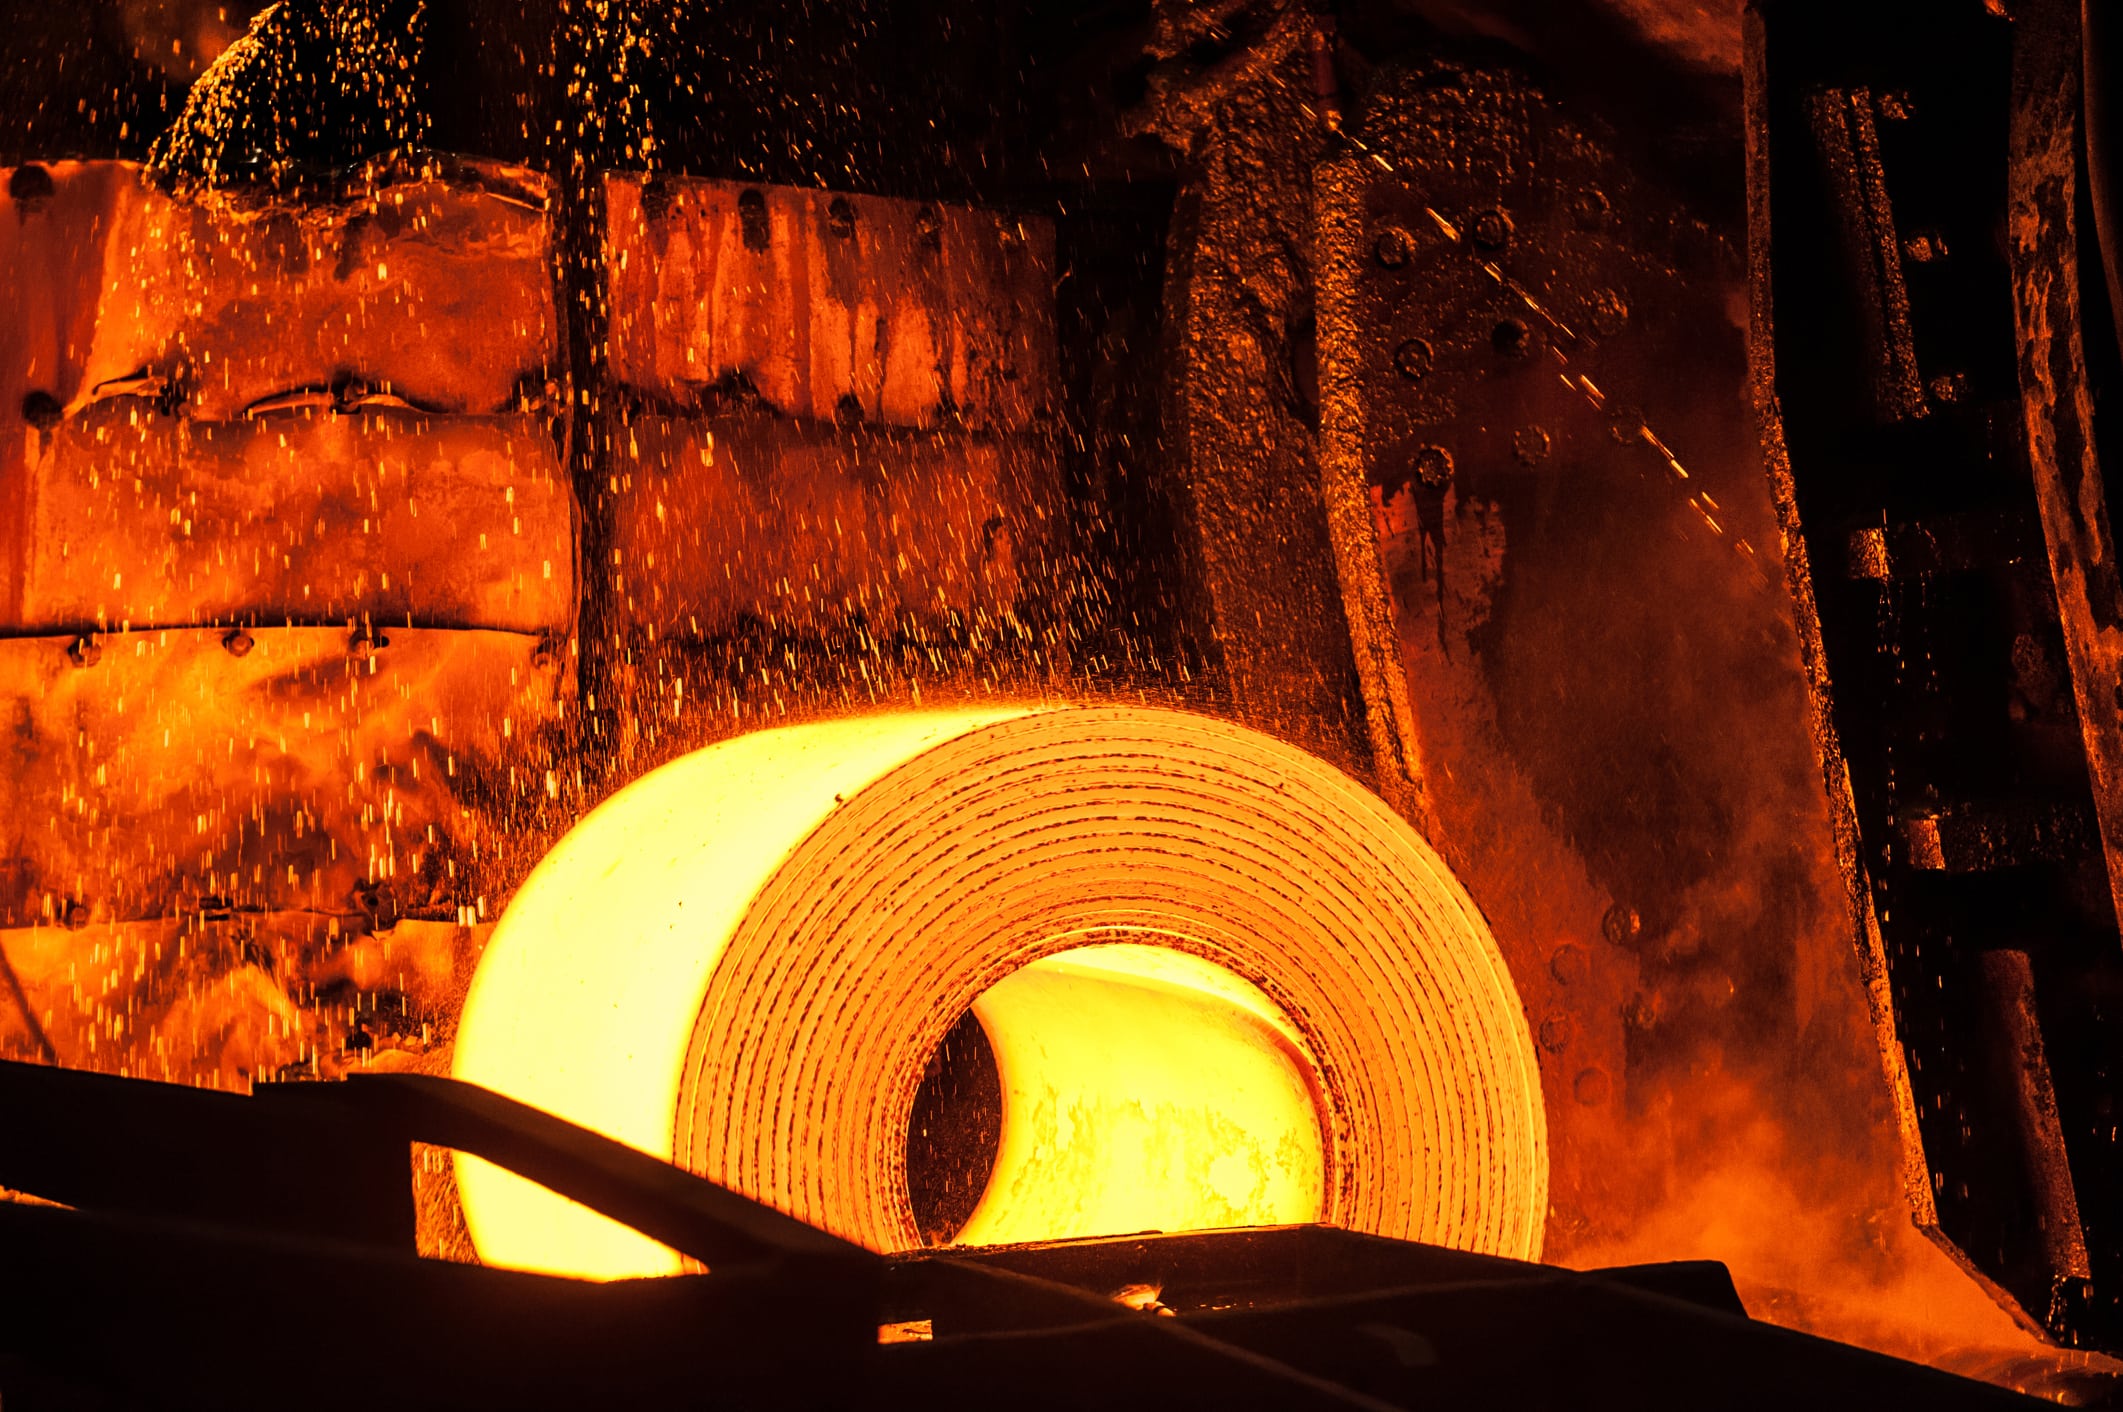
Rolling hot steel on a conveyor belt
Service discontinuities are associated with the usage of the materials during its service life. Conditions such as stress, corrosion, fatigue, and erosion are all caused by the everyday use of the material. Service discontinuities can change how stress is distributed throughout the material – affecting the normal service conditions of the material. Similarly, service discontinuities can affect the mechanical and chemical properties (corrosive resistance, for example) of the material.
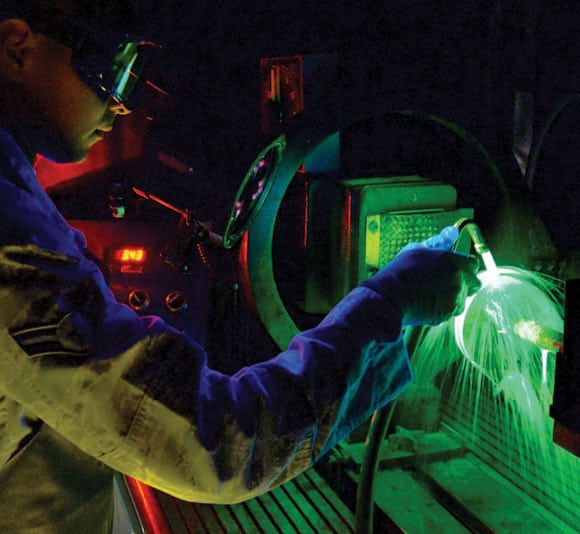
Casting and Processing Defects
Forming metals into complex and intricate shapes requires mold casting – the act of pouring molten metal into a customized cast. The mold is broken away to expose the casting, or the design of the mold allows the casting to be separated without breakage. Most molds are made to be used many times and are designed to help the molten metal to “vent” or “breathe” – allowing the material to fill all spaces of the mold evenly. Certain casting defects have no effect on the end-product. But surface defects can change the outside of the metal and increase the cost of production.
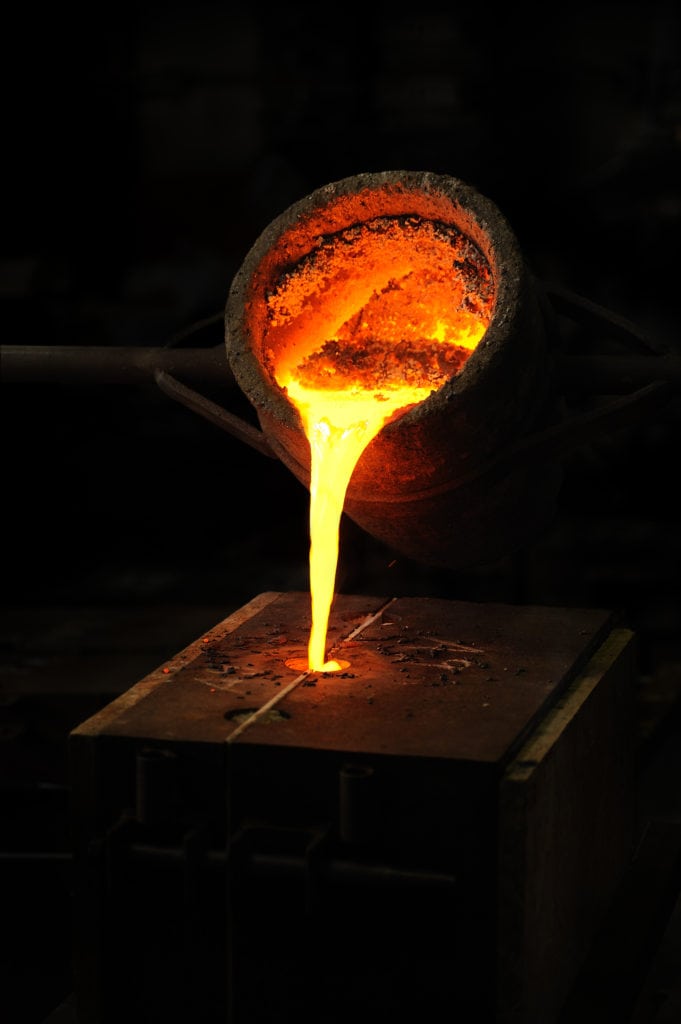
The creation of a casting article
A casting suitable for working, re-melting, and manipulation is called an ingot – or a uniform block of raw material such steel, aluminum, or other metal. Casting molds are made of grey cast iron and anodized aluminum alloys. Molten metal is poured into a casting mold – which then forms raw, uniform ingots.
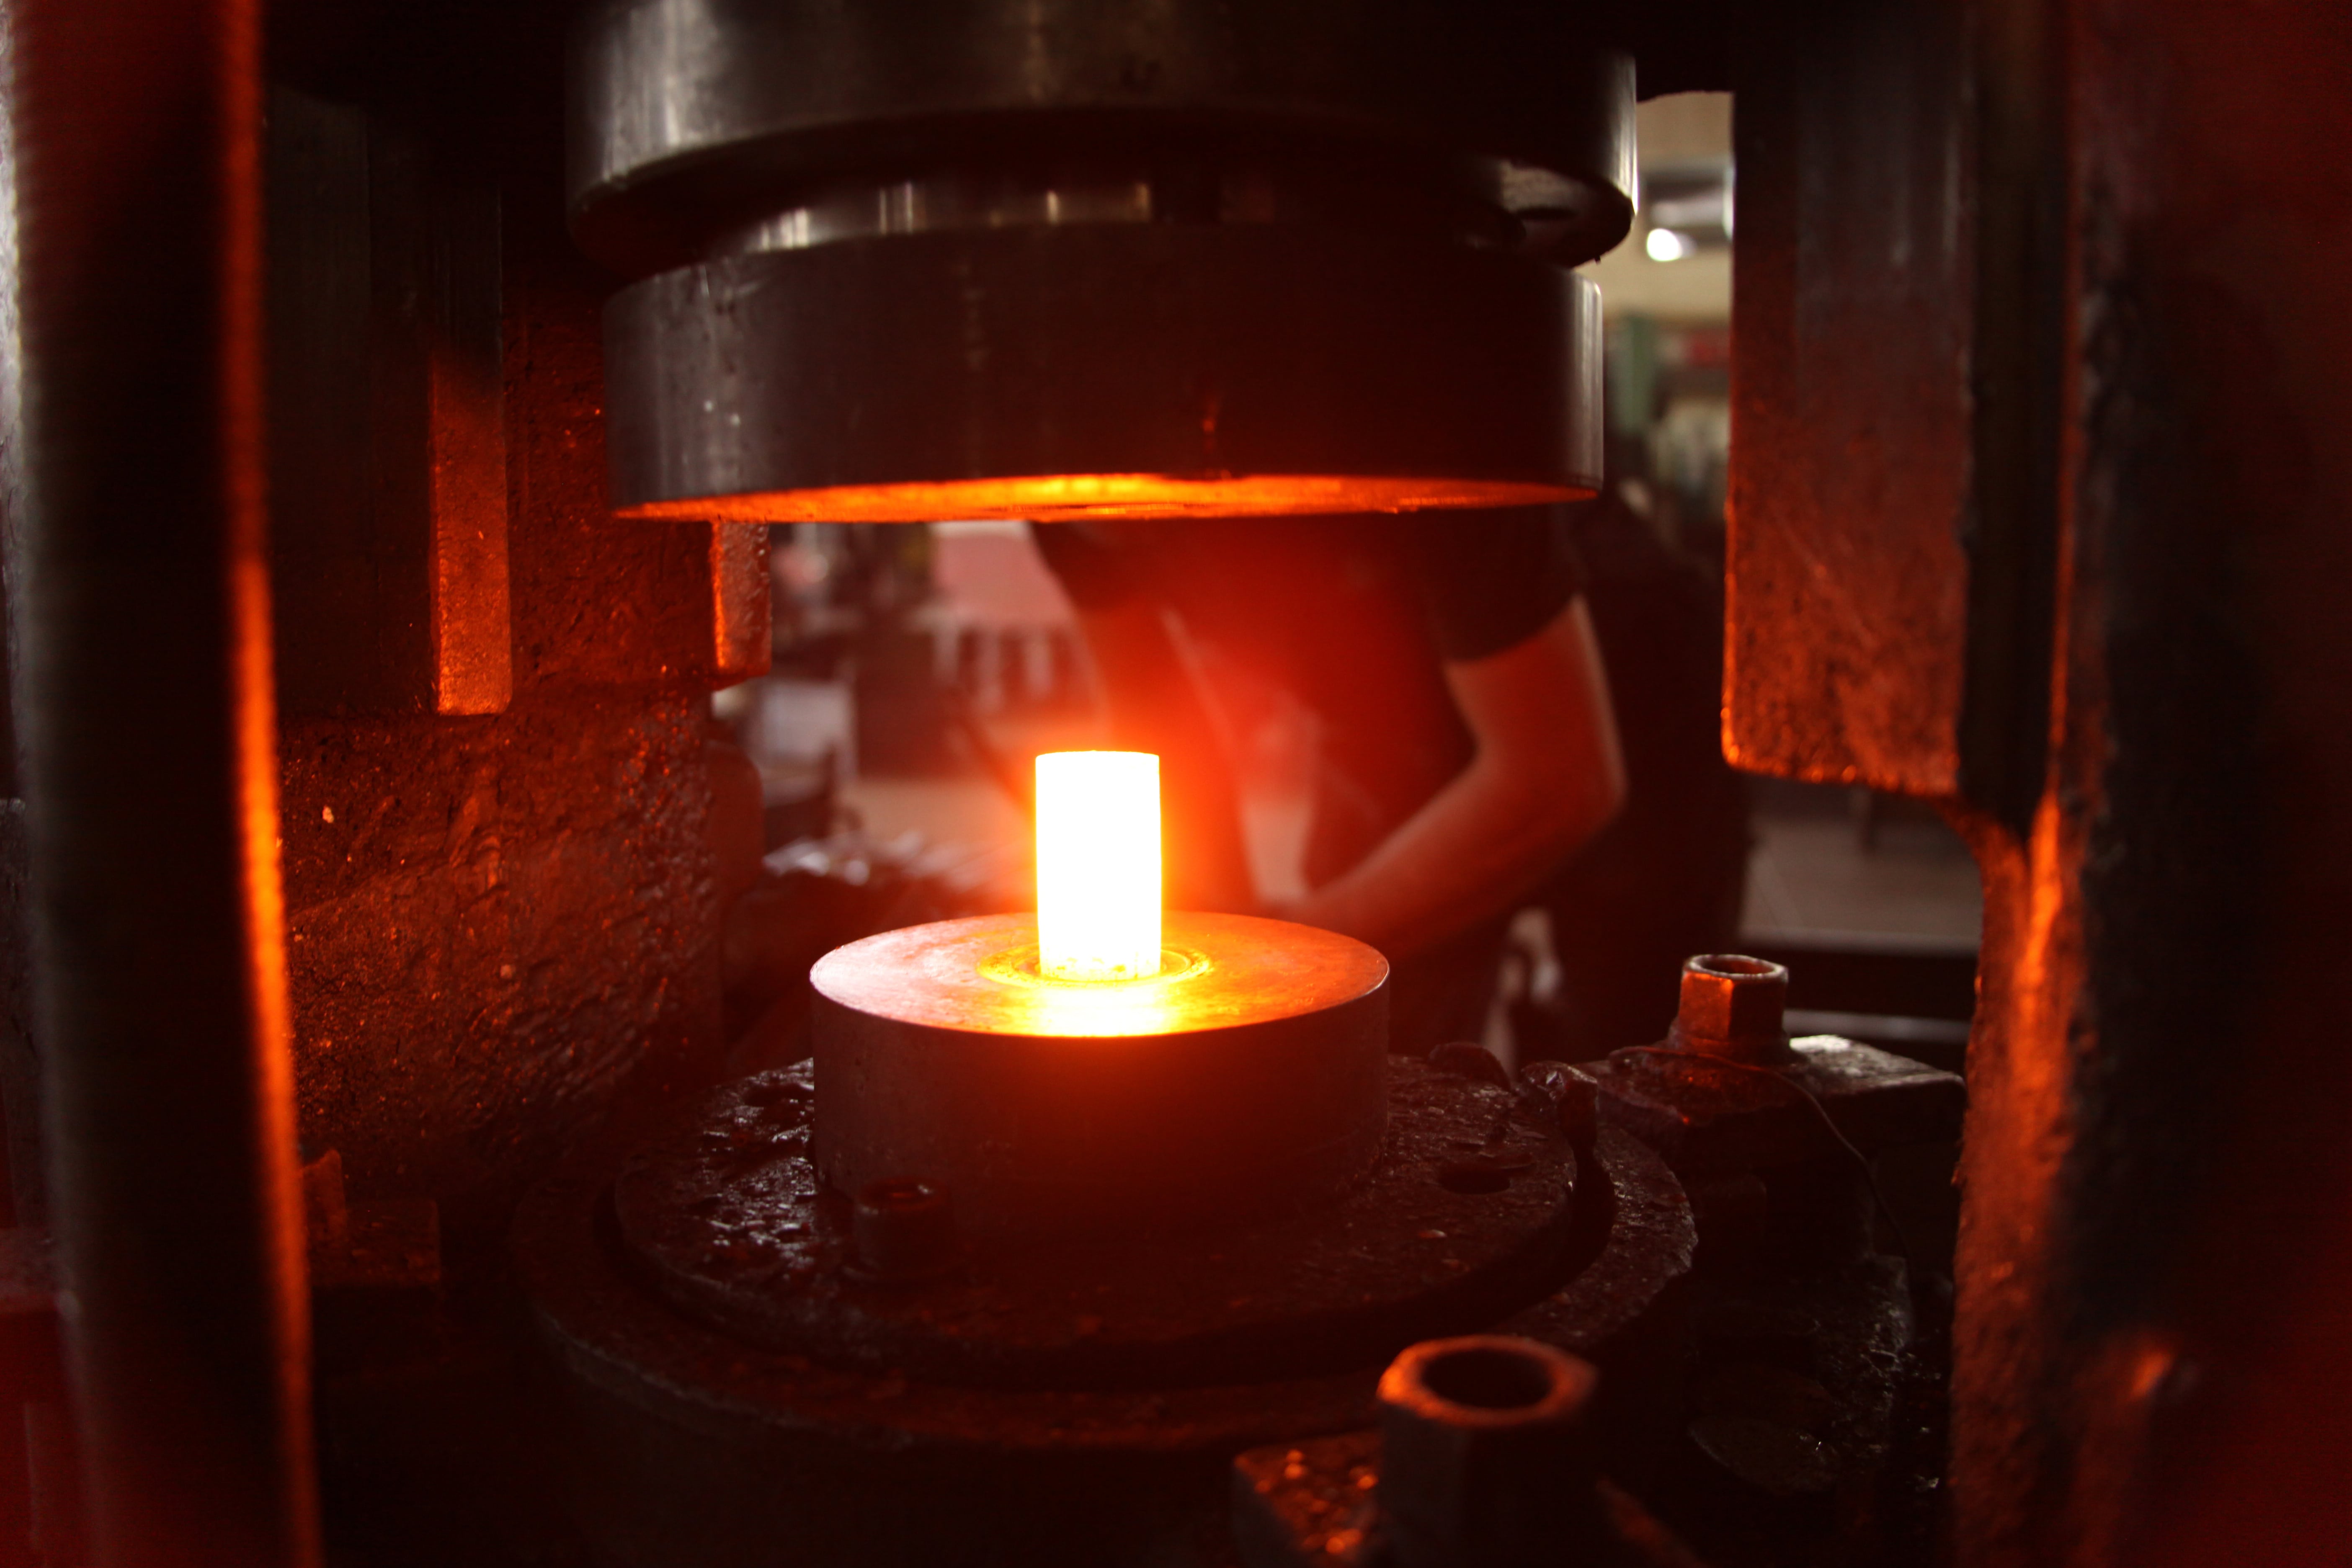
An article being processed and reformed
Turning an ingot into slabs or billet is the starting point of the creation of articles. Typical discontinuities found in ingots are non-metallic inclusions – bubbles, pockets, or cavities on the surface of the ingot. Inclusions, for example, can be easily removed by cropping off the upper layer of the ingot. But other types of discontinuities pose more serious risks.
There are many types of casting defects
Most casting defects fall into these 5 categories
Surface defects can occur for many different reasons. For the most part, surface defects are associated with the condition and the quality of the mold. These types of defects include material shrinkage, cracks, and dross.
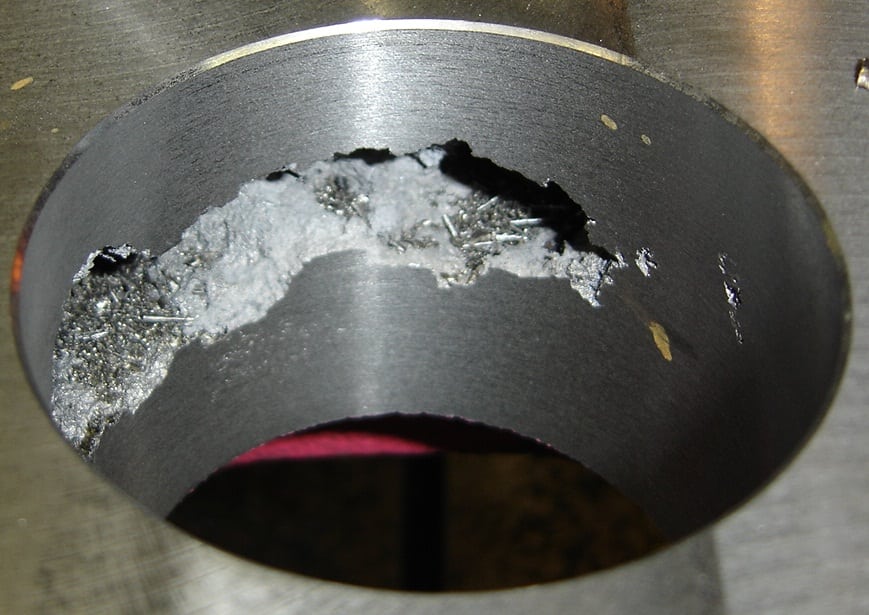
Shrinkage caused by incomplete molding
Cavity defects are created when the liquid metal solidifies, contracts, and is exposed to different temperatures during the casting process. These types of defects often occur in areas where there is a deviation in the casting’s thickness or an abrupt change of angle. At these junctures in the casting, hot spots can develop and cause shrinkage or warping in the metal.
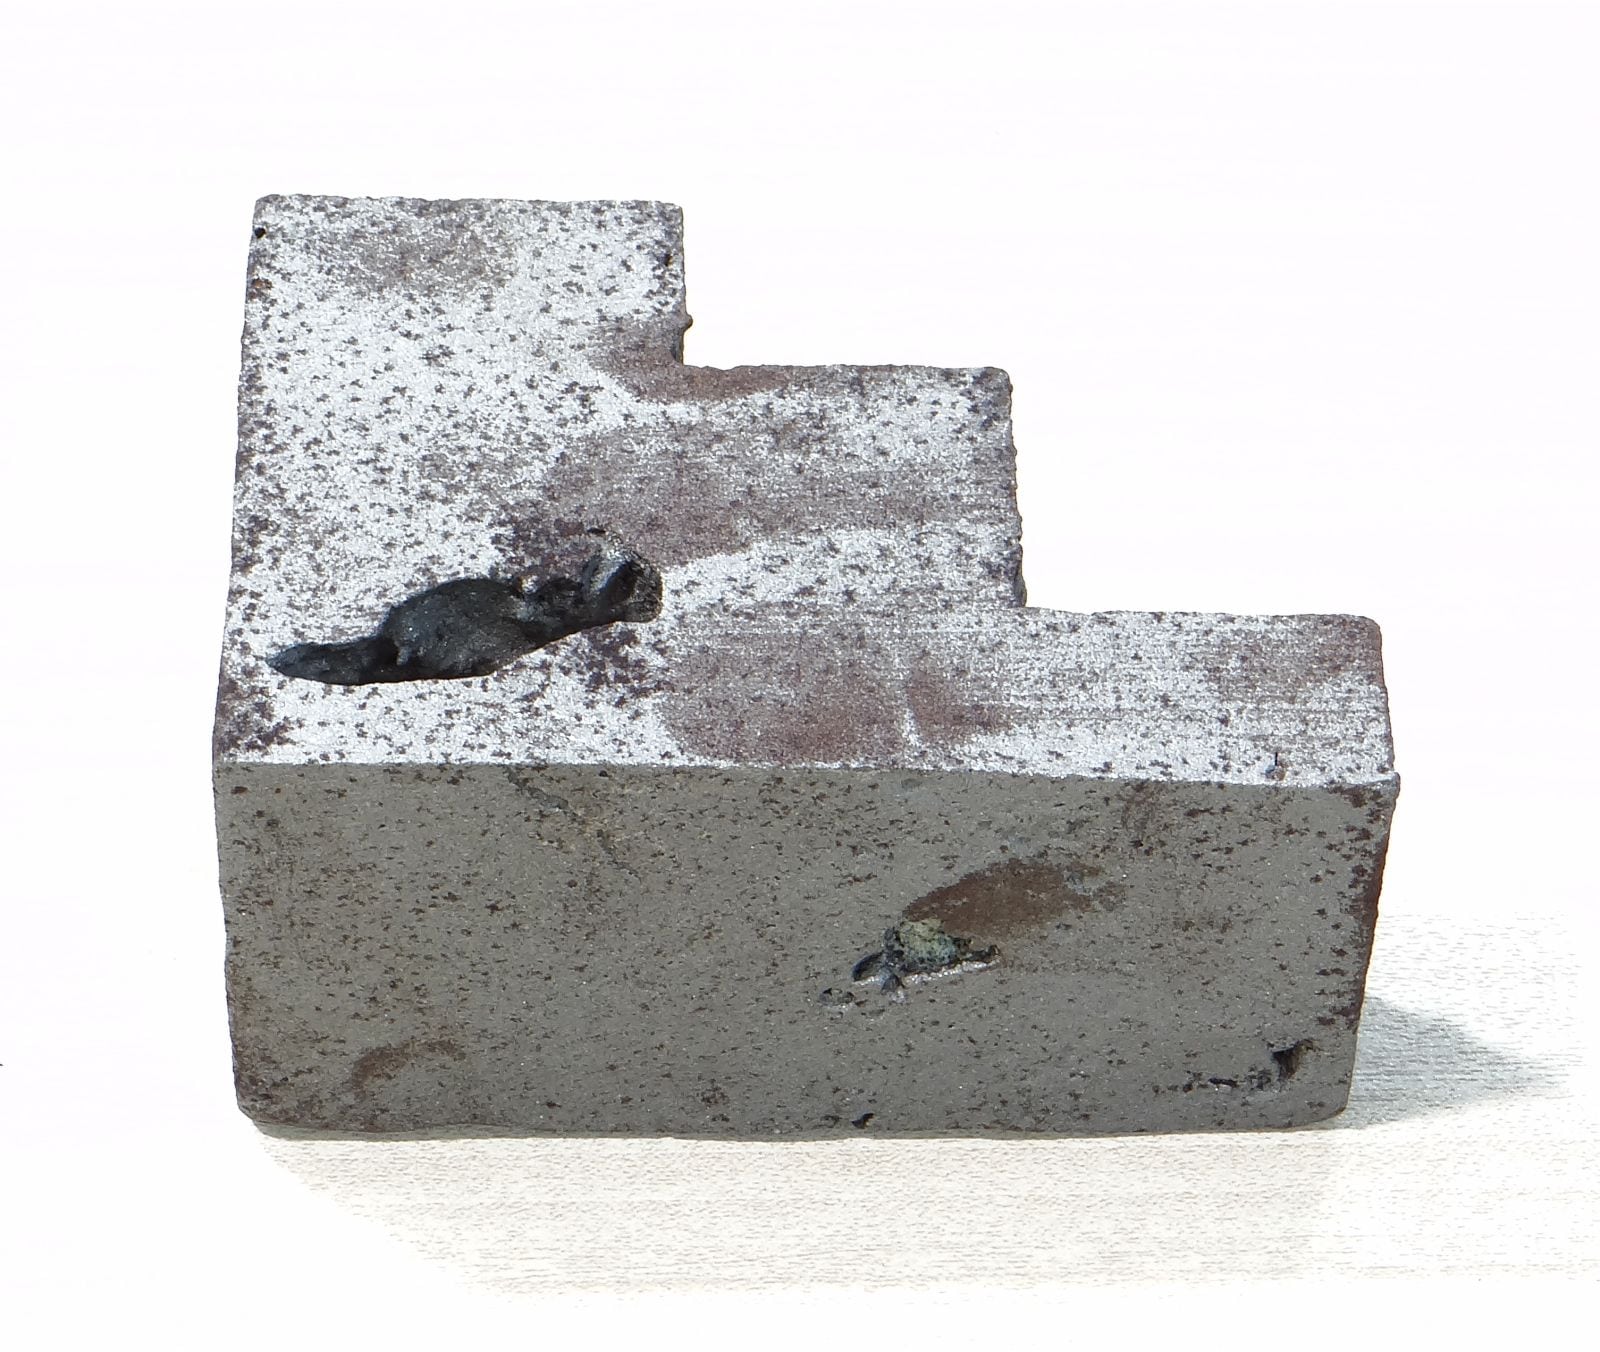
Cavity found in processed article
Hot cracking is caused when the contracting and cooling metal is restrained by the mold – or by a thinner section of material that has already cooled and again exposed to heat.
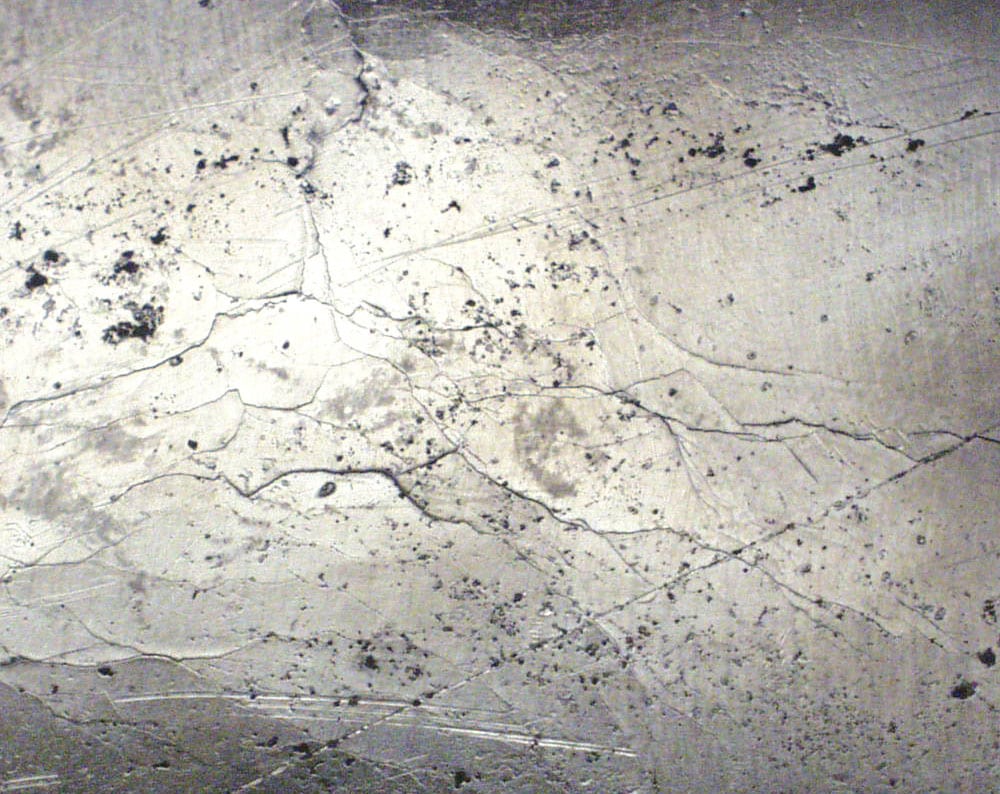
Hot cracking caused by rapid and uneven cooling
Gas holes or porosity are small defects made by gases escaping from the molten metal.
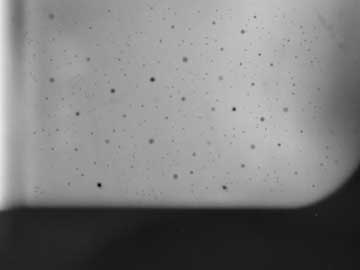
Porosity in finished article
Inclusions (metallic and nonmetallic) occur from the presence of foreign materials – such as products for metal treatment during casting and sand or dirt from the mold itself.
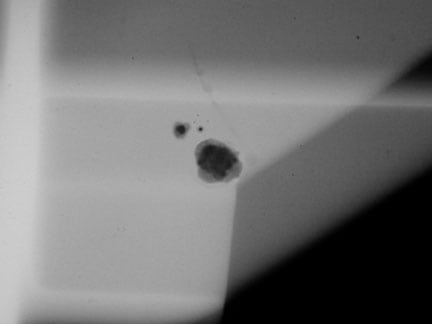
Sand inclusion within the article
In our next segment…
We’ll be investigating further processing discontinuities, service defects, and examining how visual non-destructive testing arose and continues to be the first and foremost method of material integrity inspection.
About Spectronics Corporation: Spectronics Corporation is the world’s leading manufacturer of ultraviolet equipment and fluorescent materials. Their state-of-the-art products are built to exacting engineering standards and are utilized for literally hundreds of markets and applications that demand uncompromising quality and reliability. Spectroline® UV lamps and radiometers are widely used to verify the structural integrity of military and commercial aircraft. Spectroline® fluorescent dyes are used to check for fluid leaks in power plants, nuclear reactors, oil pipelines and industrial facilities worldwide, and were even used on the U.S. Space Shuttle.

